Back-pedal brakes, coaster brakes, training wheels or stabilizers – whatever you call them, they probably conjure up memories from your own childhood. For decades they were considered the standard, but now such training aids are being relegated to the history books.
And rightly so in our eyes! When kids first embark on their two-wheeled adventures, there are distinct advantages to beginning with hand-operating brakes. In this article, we will explain the drawbacks to coaster brakes when it comes to your child’s development and encourage you to give your kids a helping hand along their way–with hand brakes!
Less braking power
First of all: a coaster brake – or back-pedal brake – only has limited braking power. Rather than having your hands confidently on two brake levers, the coaster brake only brakes the rear wheel. So if you need to brake suddenly in an emergency, you will still have to tug firmly on a hand-operated brake too. On child-sized bikes, the shorter crank length (the part linking the pedals to the bottom brake) makes a significant difference – this is because of the shorter leverage action and reduced power transfer. For children that haven’t yet built up strong leg muscles, coming safely to a stop might be tough.
Secondly: coaster brakes perform most effectively when the cranks are in the ideal position, which is parallel to the ground. This requires your child to anticipate what lies ahead while riding, which – as you can imagine – is a big ask for beginners, who may be more concerned with looking around them.
Thirdly: back-pedalling with excessive force can block the rear wheel and cause a skid. As you can imagine, it’s not the nicest way for your child to have to brake. The most efficient braking happens just before the rear wheel skids – but it takes experience to know where this point is.
Note: if the chain comes off, your child is essentially left without a brake. What’s more, coaster brakes have a tendency to overheat on long descents. This renders them completely useless for mountain biking. For safety reasons, you’ll need an additional hand-operated brake, which is actually a requirement by law in many countries.
Getting the right pedal position
Let’s set the scene: your child wants to brake but realizes that the pedals are in a vertical position. Now they have got to quickly turn them into place in order to transfer power into the braking. It could take two to three seconds; this does not sound like much until you consider how every second counts when you’re in traffic or a thorny situation.
Then there’s that awkward pushing-off moment, whereby the pedals will not cooperate if they are not at the right angle. Unlike a freewheel, the cranks can’t simply spin into position – your child may have to get off, push the cranks forward, or lift up the back wheel to position the pedals.
It’s a similar situation when cornering; your child might want to pedal backwards to raise the inside pedal (avoiding contact with on the corner), but this is not possible and requires pre-planning to have the inside pedal up high.
Accidental braking
It’s totally normal for kids to slightly back-pedal in order to maintain balance on rough terrain, but naturally, with a coaster brake, this could cause unintentional braking.
Added weight
Coaster brakes weigh more than hand-operated brakes. And as you know: every gram counts on your kid’s bike. Rim brakes are very lightweight, which makes them a great choice for day-to-day riding and mellow off-road terrain. While disc brakes weigh more, they are the ultimate choice for riders that are heading off-road – they unleash a lot of power braking while requiring little force.
Getting the dosage right
Feet don’t have as much aptitude as hands and fingers when it comes to fine motor skills. Using their fingers, your child can gauge how much force is needed with a lot more sensitivity, which means better braking modulation. Particularly when cornering or in the wet, it’s even more important to use equal doses of braking power on the front and rear wheel to prevent skidding. Add in a coaster brake, and this becomes a lot harder.
Learning it later
Braking safely is a fundamental skill for cycling and something that comes with practice. Kids that learn to ride on a coaster brake have a habit of relying on the back-pedal brake and often overlook the hand-operated brake. When they later step up to a bike with two hand levers, they’ll find the transition more difficult. They’ll learn that back-pedalling works to no effect and will have to get used to the hand levers.
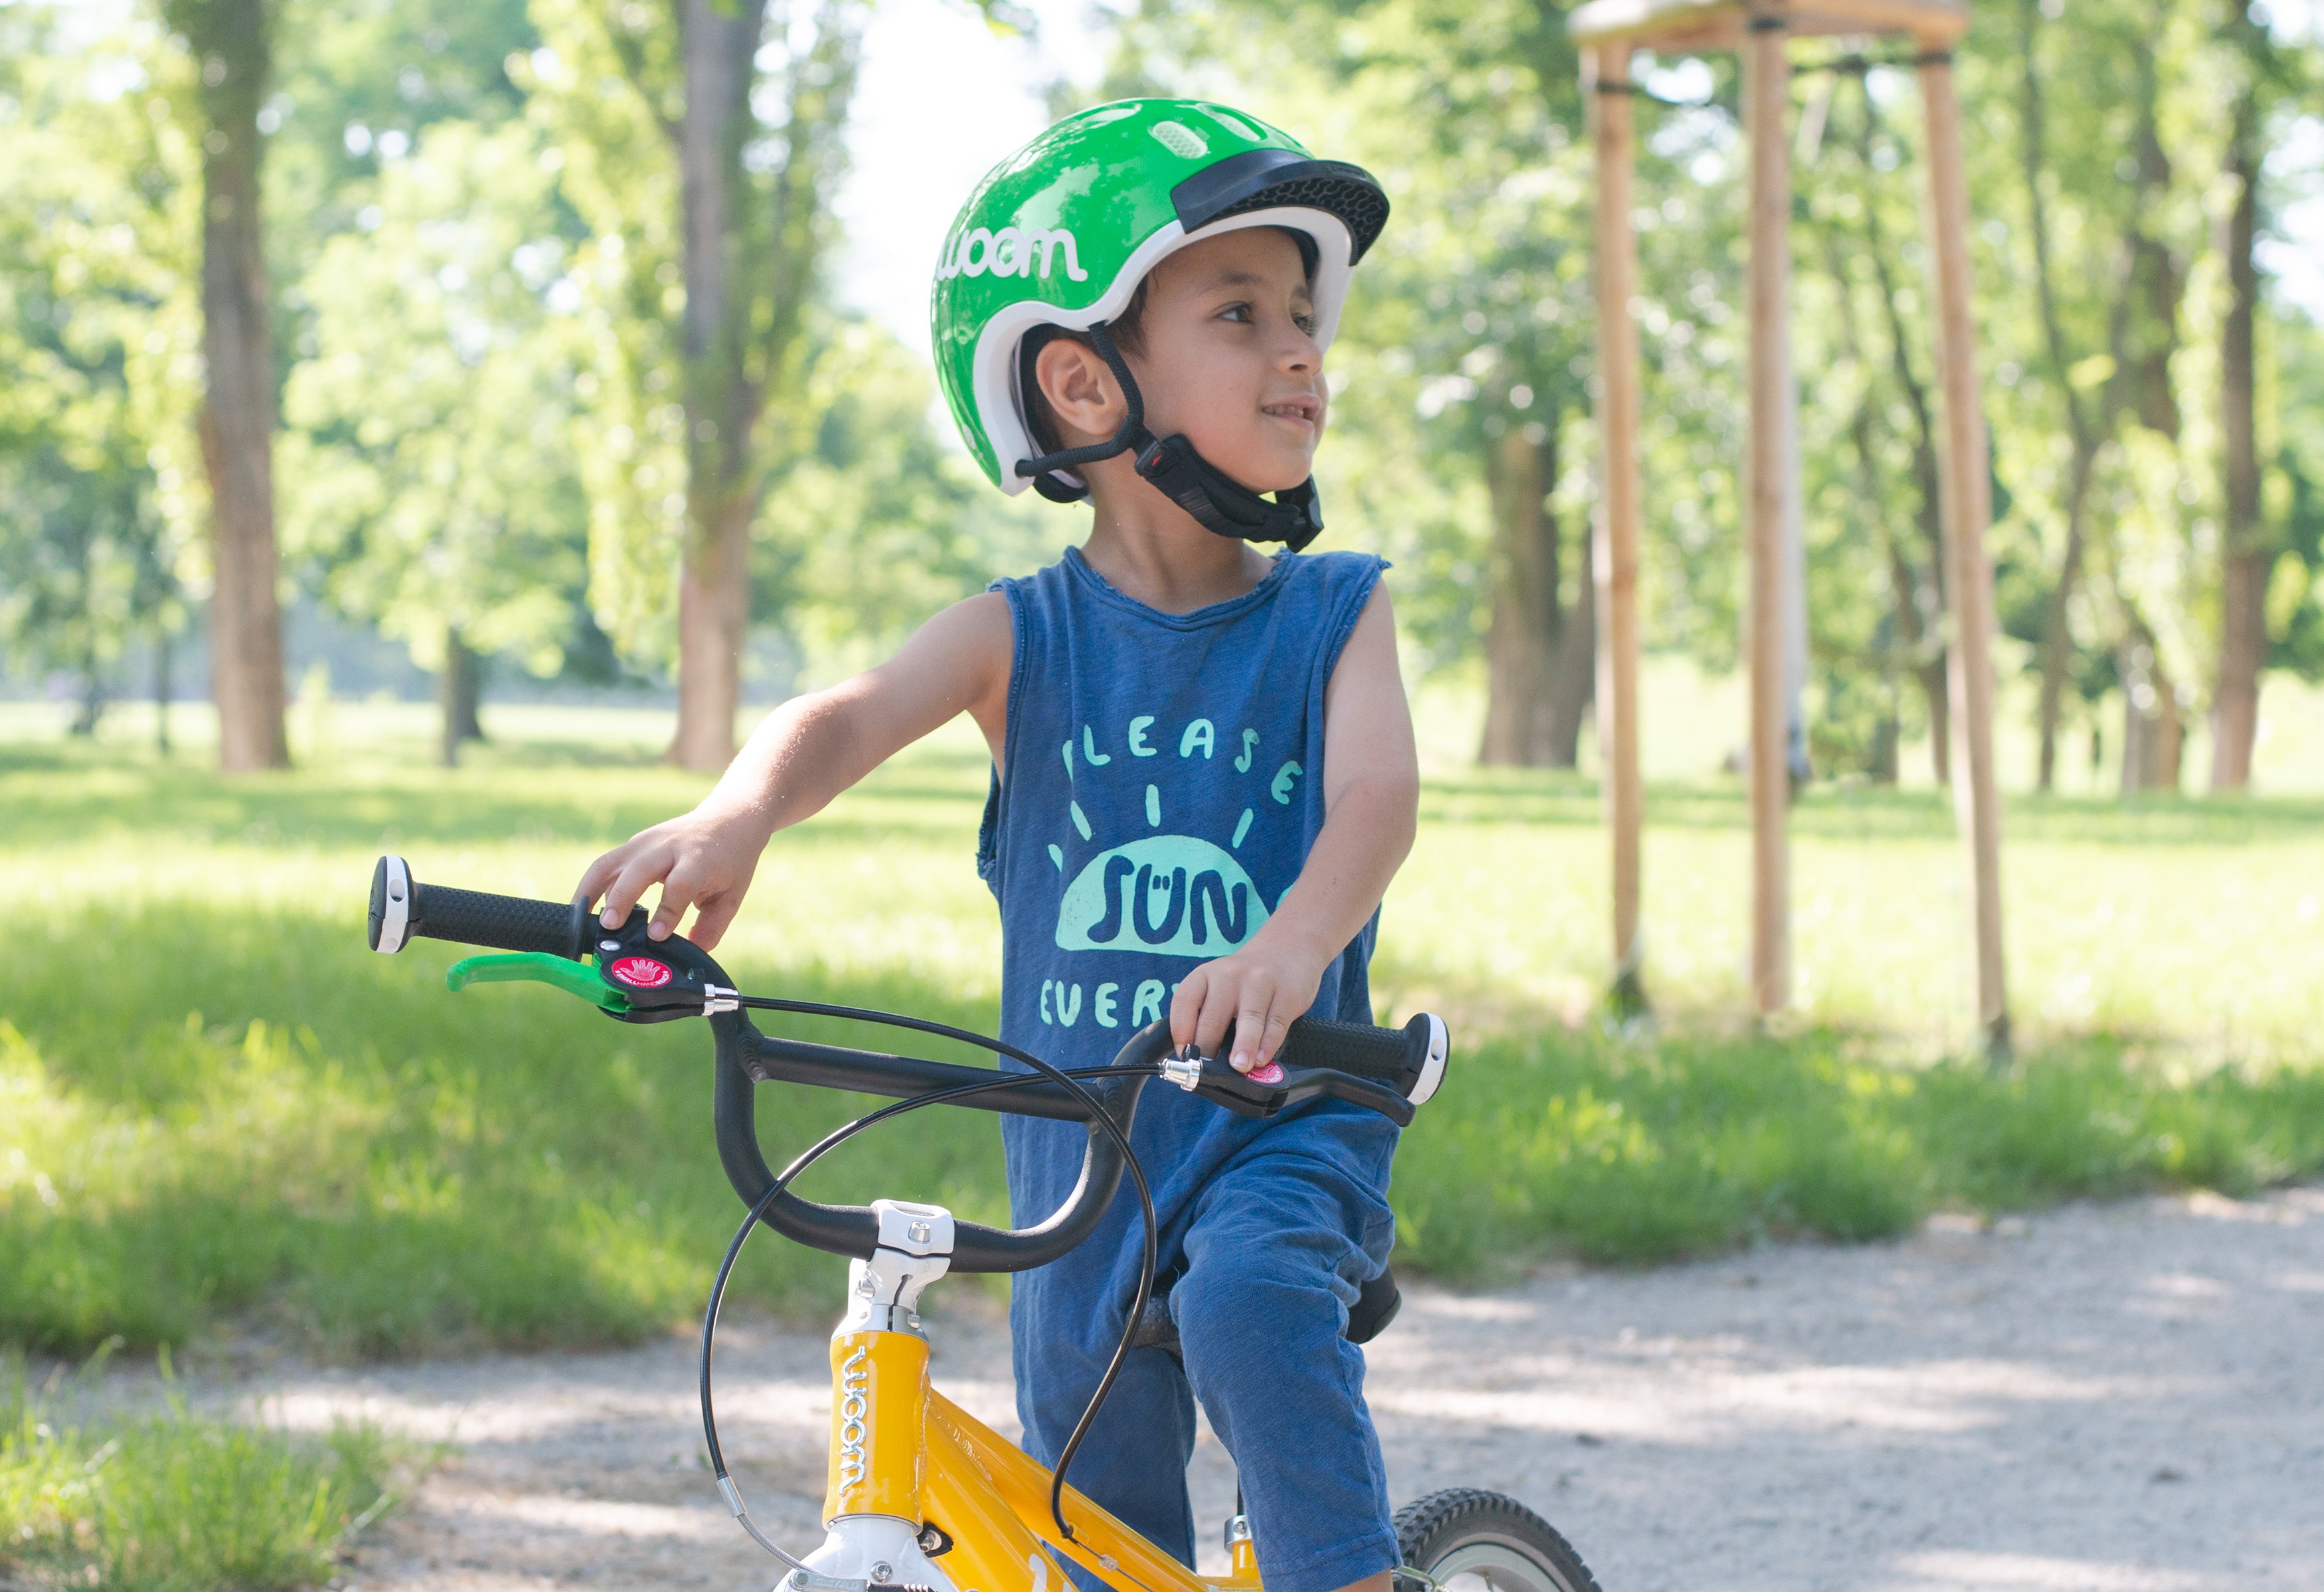
Start early! Use games and playful exercises to introduce your child to hand-operating brakes on their balance bike. This gives them the luxury of time to develop the fine motoric and it takes away the need to familiarize themselves later.
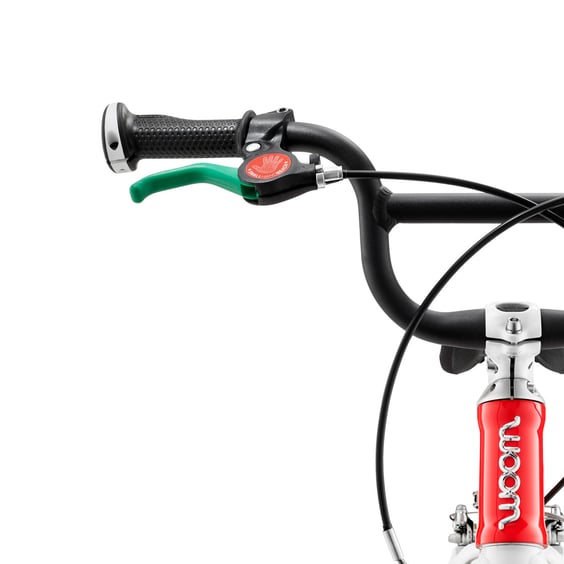
Having child-specific brake levers is crucial; these need to be optimally set-up for small hands otherwise braking will feel like a Herculean task. Make sure that the brake lever is within reach – ideally adjustable – and that the brakes function well without requiring too much power. This is exactly why our woom ORIGINAL bikes are equipped with child-specific V-brakes. What's more, our bikes for young children (the woom 1+, 2 and 3) all feature a distinctive green lever for the rear brake, so that your child won’t have any problems distinguishing which lever functions which brake.

Tip: Add in a few lighthearted dexterity exercises to help your child become accustomed to the feel of braking. There’s no need to rush the process; it’ll become second nature as they go along.
Have fun practising!


.jpg?width=926&upsize=true&name=woom_still_and_moving_in_action_2018_345-Edit-720x480-32ef3212-c95f-4d63-b83a-d57bf7c038f6%20(1).jpg)
